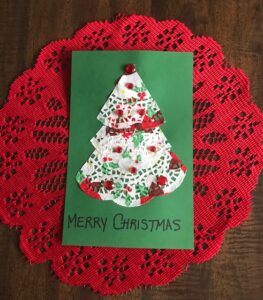
If you want an easy Christmas craft to do with children, this doily tree is perfect for little hands. We recently made trees with our Sunday school class. The children came up with their own sparkly designs. Below are samples of trees, the supplies needed, and a yummy Grandma’s Molasses Cookie recipe from my neighbor, Dianne. They’ll be gone before you know it.


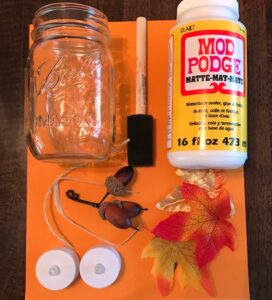
Supplies
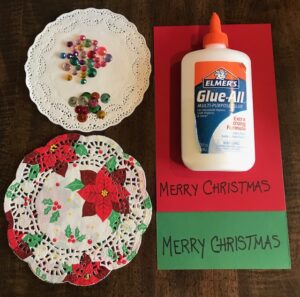
If you plan to make the tree ornaments, you will need popsicle sticks. The doilies we used were six inches in size. You’ll need colored cardstock, gems, confetti, glue, and markers. Have fun!
Grandma’s Molasses Cookies

My neighbor, Dianne, graciously shared her grandmother’s recipe.
Grandma’s Molasses Cookies
3/4 cup shortening
1 cup sugar
1 teaspoon each: cloves, ginger, cinnamon
1/2 teaspoon salt
1 egg
4 tablespoons molasses
2 cups flour
2 teaspoons soda
Cream shortening, sugar, eggs and molasses. Mix and add remaining ingredients. Shape into balls, and roll in sugar. Bake at 350 degrees approximately 10 minutes.
Dianne’s note: I always double this recipe. You can roll the dough into a log, wrap in wax paper and freeze for later use. You may want to sprinkle with sugar once you have cut and placed on cookie sheet.
Enjoy!
Many thanks, Dianne, for this delicious recipe.
Merry Christmas!